social

Facebook Twitter Blogger Pinterest Instagram YouTube

menu

About Us Contact Us News Faq Tutorials Our Shop

giveaways ad

Wednesday, November 26, 2014

Get Ready for Black Friday!


Are you excited for our ginormous Black Friday sale at Create Kids Couture!?!  This event usually brings up a lot of questions so we thought it would be a good idea to answer them ahead of time before all the crazy excitement begins. So here's the scoop! 


Use code "THANKFUL2014" at checkout on our website only.  This will give you 50% off ALL patterns! That's right, ALL patterns! The coupon code will be valid ALL day long, from midnight to midnight, so there's no need to stay up late and beat out the other shoppers!  (But if that makes it more exciting for you, go ahead!) 


Here are a few other details you will want to know: 

  • All other coupon codes and tiered pricing will be turned off during the sale, so you can expect 50% off regular prices across the board on all patterns, including new patterns. Yippee!
  • Please note that November's Monthly Mixup bundle ends on Thursday, before the Black Friday coupon code begins. So if you want to get our awesome bundle, don't wait too long for the additional sale because you will miss it! The bundle is available through Thursday only.
  •  On the website, you will save yourself trouble by signing in before adding items to your cart. If you forget and sign in afterward, you will be fine but you will probably have to do a password retrieval, even if this is your first time on the site.  
  • If you get a message saying that your email address is already in use, it is because your password did not switch over to the new website for security reasons. Simply do a password retrieval and you'll be all set to check out.
  • If you have problems on the website that are not addressed on this blog, please email createkidscouture@gmail.com and we will help you out as soon as possible.  
  • If you have questions that are not addressed here and you want to ask on Facebook, please ask your questions on the PINNED post in our patterns group by commenting there. Please do not make a separate post with your questions because it creates confusion and we probably will not be able to answer them in a timely manner! Instead, our staff will go down the line on the pinned post and answer your questions. Don't be afraid to read through the previous questions on that pinned post because many of your questions will probably already be answered! 
  • If you do not immediately get an email confirmation with your download codes, you can download them directly from the website right after you order! They are available instantly. Just look in your account info and there are links there for download. 
Here's what it should look like when you view your Order Details in your account: 


Notice that after each of the pattern names it says "(Download Files)".  Click that and it will take you to this screen:


Now in the yellow highlight you can see the pattern name as a PDF link and you simply click on that name to save it to your own files. We highly recommend that you download all patterns immediately so you don't forget! You are purchasing a copy of the pattern and not lifetime storage on our website. :)  It is also a good idea to save your email when it does come, for proof of purchase down the road if you need it. 


I think that covers all of it. Keep in mind that this is our BIGGEST sale of the year!  You might want to start looking over your wishlist and browse for more patterns that might come in handy this next year. You can never have too many patterns, right? 


Let's Create! ~ Kristen

Tuesday, November 25, 2014

Little White Gloves Tutorial


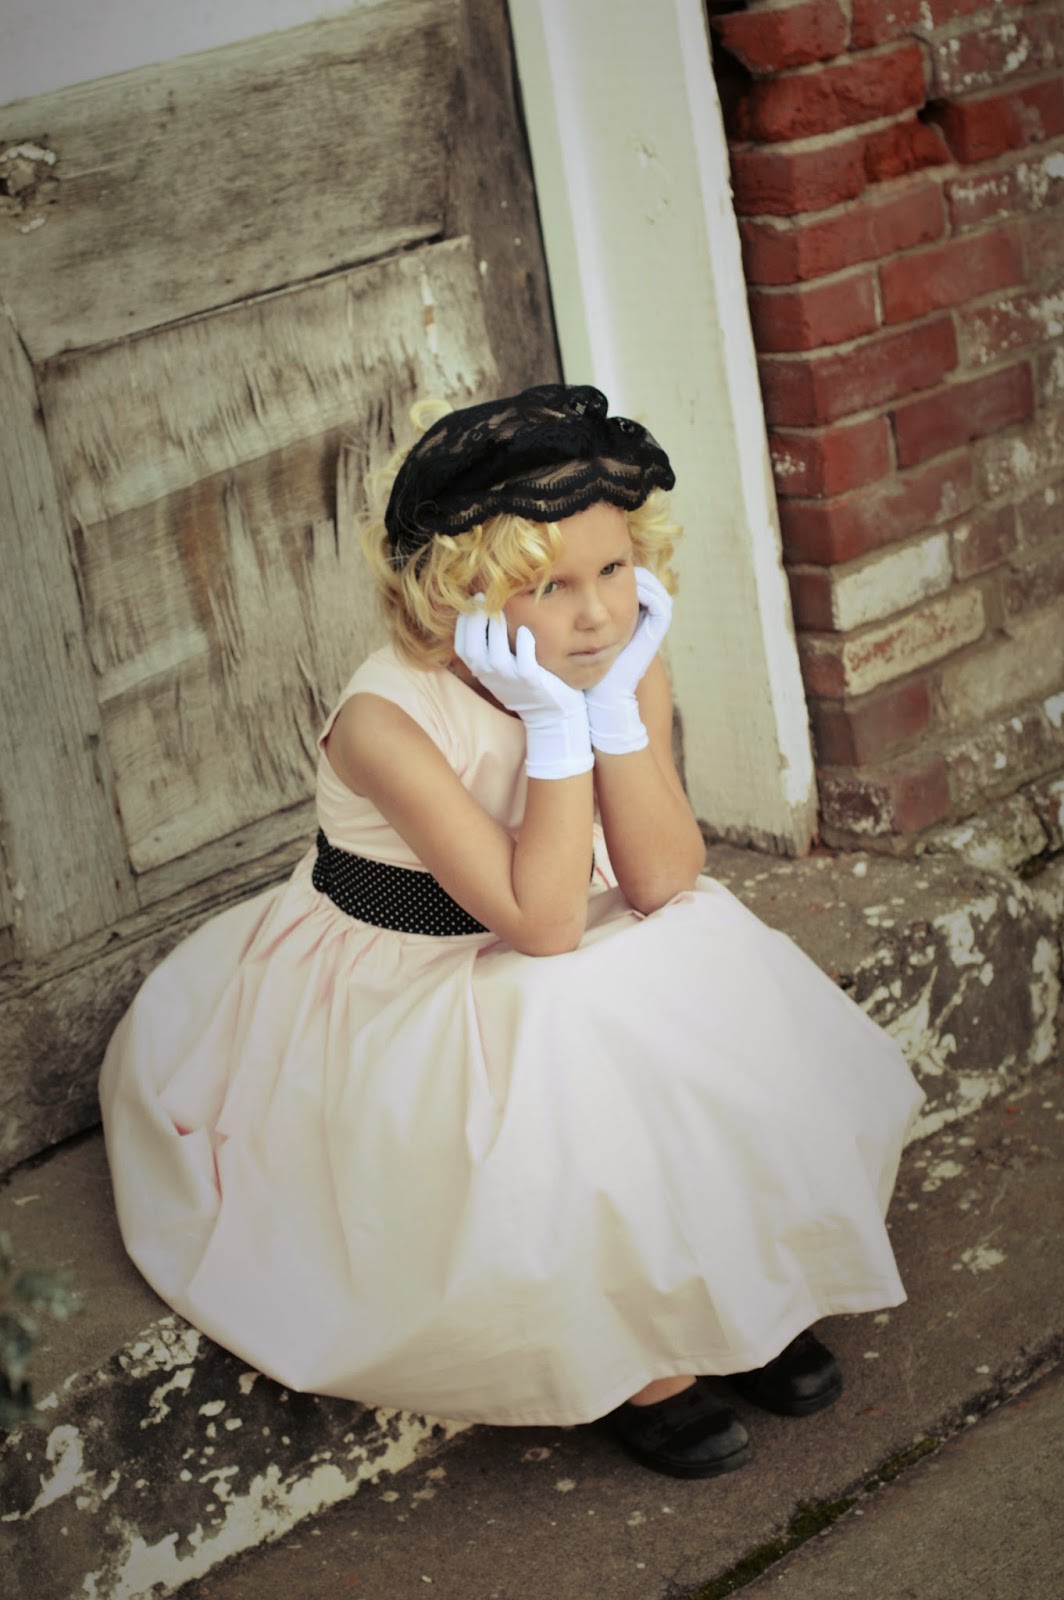
Hello, CKC Family!  Kristi here with a darling how-to that will surely add style and the perfect accent to any of your CKC dress photo shoots, a tea party or just for fun!  And the best part?  It’s SUPER easy and you can make them ANY size!


A few weeks ago, with the Nicole’s Party dress sneak peek, the retro-inspired photos of my daughter in her dress were shared in the pattern group!  When searching for a pair of little white gloves to complete her props for the shoot, I couldn’t find any tiny enough around town and it was too late to have them shipped.  So, I decided to make a pair myself!  And today, I’m going to show you how I did it!


Materials you will need:
·         1/4 yard of 4-way-stretch knit fabric
·         Paper or felt
·         Sharpie
·         Scissors
·         Pins
·         Sewing machine


Step 1:
Using a sharpie, trace around your child’s hand onto a piece of paper or felt, being sure to stay 3/8” away from their little fingers for seam allowance!


Step 2:
Have your child move their hand and freehand the glove opening a couple of inches longer.


Step 3:
Cut out your hand-drafted pattern piece.  Take your 4-way-stretch knit and fold it over so there are two layers.  Fold it over again so there are four layers of fabric.  Pin your pattern piece in place and cut.  You will now have four glove pieces.


Step 4:
Take two of your glove pieces and pin them right sides together.  Sew around the glove as indicated in red, using a 3/8” seam allowance.  Take your time and be careful around the curves of the finger tips.  Lift your presser foot while the needle is in the down position often, turning and guiding your fabric.  Repeat with the other two glove pieces.


Step 5:
Once you have both gloves sewn, you can now trim 1/8” around your stitching, being very careful not to cut INTO your stitches!


Step 6:
Turn your gloves right side out and fold back the openings 1/2".  Sew 1/4” away from the openings all the way around.


And look at that!  You just made the perfect-sized gloves in 6 easy steps!


There are so many possibilities to customize them by adding lace or ribbon to the openings or trying different printed fabric!  All in 15 minutes and less than $5.00!  Your little will definitely give you a high five in those pretty, new gloves!

Be sure to share your Little White Glove creations in the pattern group!

Love, Kristi


Thursday, November 20, 2014

Adding Sleeves to a Dress


Winter doesn’t officially begin until December 21st this year, but boy does it ever feel like it is already here! Even in the good ol’ Sunshine State we are feeling the effects of Jack Frost. As I type this, it is a very wet and windy 48°F here in Central Florida. This Southern girl and her mini-me ain’t used to those kind of temps!  I am here today to show you how you can add sleeves to the newly released Maggie’s Perfect Colorblock Tunic & Dress. Let’s get started!


Materials Needed:

·         Fabric – You will need the fabric requirements listed in the Maggie’s pattern, plus the fabric requirements for the sleeves and cuffs in the Sally’s pattern.
·         Coordinating thread
·         1 button
·         1 - 2-3” piece of 1/8” elastic

Thursday, November 13, 2014

Upcycle a Women's Sock into Doll Tights


It's getting cold outside so don't forget to grab some tights and keep those little legs covered!  And I don't just mean the girls. How about their dolls too? I just love little doll accessories and they are even more fun when you make them yourself. 


Today I am going to teach you how to make tights for your doll in just minutes by upcycling! Maria, the head of our doll patterns, taught me this little trick and it's so fun and easy to do! 


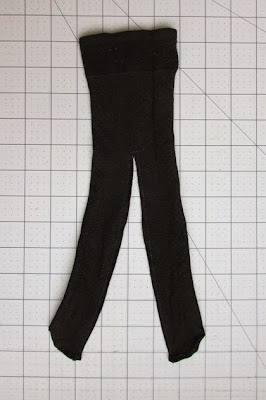
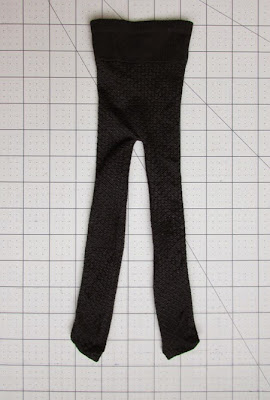
For supplies, all we need is one women's sock!  I'm sure we all have a mis-matched sock hiding somewhere in the house. I chose to use this ladies' dress sock to get the look of black tights, but you can use any type of sock, stocking, or even a cut-off nylon.  If you have holiday socks or striped socks, that's even more fun!  You just need to make sure that whatever you choose will fit over your doll's legs:


Go ahead and put the sock onto the doll to make sure it will fit.  We want the sock to leave plenty of room at the waist. There's nothing worse than store-bought doll tights that are impossible to keep on!  I like them to be nice and roomy. This sock looks tight on her legs but it is really stretchy so it will be perfect.  So let's get started!


Step 1:  Turn the sock inside out and lay it on a flat surface. Put the doll on top of the sock, lining it up with her feet an inch or so above the bottom of the sock, to leave room for the foot curve. Then use fabric chalk or a marking pen to mark a 1/2" line at the top of the leg-gap, as shown in yellow above. 


Step 2:  Looking at the photo above for guidance, sew a straight line through both layers from the bottom of the sock up to the line you marked, sew across the line, then sew down again.  I used a stretch stitch to sew mine and the lines were 1.5" from the side of the sock, but that will depend on how wide your sock is and how much it stretches. If you want, you can draw the lines on before you begin. Be sure to backstitch at the beginning and end of your sewing.


Use fabric scissors to cut a straight line up the sock, right between the lines we just sewed. Clip the corners. You may want to zigzag or serge the raw edges if it looks like it will fray.  I didn't serge mine. 


Turn the tights right side out, using a dowel if necessary. 


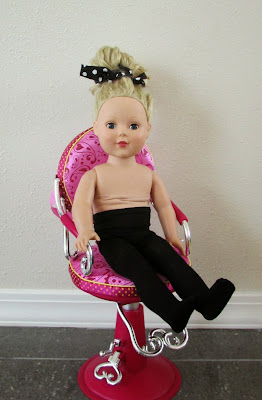
Try them on your model and hopefully you have a perfect fit!  They have always worked for me. I especially love how the reinforced ends fall on her toes. Super cute. 

 If the tights don't fit right at first you can turn them back out and adjust. Or it might be even faster to go search the house for a new sock. I won't tell anyone. 


That's all there is to it! Now all she needs is her perfect party dress! 

I can't wait to see all the tights you make for your dolls, so please share in our patterns group! Just think how cute they would be in stripes or polka dots. 

Let's Create! ~ Kristen 


Tuesday, November 11, 2014

Adding a Zipper

Here's something to think about today: 

There are easy ways to do things and there are hard ways to do things. Do you agree?  For example, you could swim across a river - OR - you could drive across the bridge to cross the river. Both ways will get you to the other side. Both ways are effective. But just because somebody had a hard time swimming across the river does not mean that you are going to have a hard time driving across.  Correct?

 So now, when I tell you that I'm going to teach you an easy way to sew a zipper onto clothing, please trust me! It doesn't matter if your aunt's cousin's sister's dog's owner's brother's uncle's mom had a hard time sewing a zipper onto a dress. Today, you are going to learn how to sew a zipper onto a dress (or top or skirt) and you can do it! Really!


Shall we begin?   


First of all, you will sew the outfit according to directions.  This works on many types of clothing but today we're going to call it a dress. You can either complete the dress entirely or get to the point where the center back seam is open, as shown in the photo above. If you have an elastic-casing skirt or dress that you want to add a zipper to, you can secure the elastic in the back casing at two places 1" apart from each other, and then cut down the length of the outfit between the secured spots, trimming the excess elastic. 

So at this point you will have a completed dress/skirt/top, except it will be cut down the center in back. Now match up the raw edges in back, with right sides together, and pin along the whole length as shown in the photo above. 

Thursday, November 6, 2014

Kids' Craft: Turkey Pumpkin

Don't throw those pumpkins out yet! If you have any whole ones still around that survived the jack-o-lantern days, bring them in the house for continued decor!  Pumpkins are festive for Thanksgiving, both on their own and all dressed up as turkeys. See: 


Every year my kids make sure we save at least one pumpkin to make into a turkey. Because they love this fabric craft so much, I thought yours might love it too!  The kids can help cut out the felt pieces and pin them in place. And the best part of this project is that the pieces are reusable year after year. It is quite an easy tradition, and I think it is these little things, done with those we love, that make holidays so special. 

So here is what you'll need to make your own turkey pumpkin:

1 pumpkin, any size
Several colors of felt
Stiff interfacing or cardstock
Pins (flat top work best) 
Fabric scissors
2 buttons or eye stickers


Step 1: Print the templates (link above) and cut out the pattern pieces. Each piece is marked. Lay the wing and feet pattern pieces on the right colors of felt and cut them out. That's it for these pieces! 


Step 2: Cut out the rectangle base and at least 7 feathers, using different colors for a fun effect. Glue the felt feathers onto cardstock and then cut them out. OR iron the felt feathers onto stiff interfacing and cut out.  Arrange the feathers into a fan shape, meeting on the base at the bottom, as shown above, and then staple or sew them in place. (We used staples.)  Your tail is now ready. 


Step 3: Cut out the two large head pieces and three smaller face pieces. Place the two head pieces together with right sides facing and then slide in the smaller pieces as shown with the blue arrows above, being sure to point them inward, opposite of how they will be when we turn them out. (For example, in this step the beak will be pointing toward the back of the head so that when we turn it out the point will be facing the front.)  The small red piece goes on top and the large red piece goes on the bottom. Use the next picture as guidance. Now pin all the pieces in place, including the two large head pieces, and sew with a 1/4" allowance around the neck and head curve, as shown in yellow above. 


Step 4: Turn the head right side out. It should look like the photo above.  If any parts don't look right, you can go back and try again. (Or give up and use glue. That has been done before.)   

Glue the eyes in place, one on each side of the head. 


The pieces are all ready and now we just need to assemble it with our pumpkin and pins!


Start by placing the tail where it looks good to you from the front. Hold it in place for the next step. (Your little helpers come in handy here.) 


On the back of the pumpkin, push several pins into the base of the tail. Go ahead and use as many pins as it takes to make the tail stable. 

(Warning: The pins will get rusty after a couple weeks. We throw them away each year.)


Now take the head piece and put it facing forward at an angle that seems natural for a turkey. Push one pin into each little curve of the turkey neck. (This is my kids' favorite part.)  Those 8 pins should keep it stable since felt tends to be stiff. If yours isn't stiff enough, you can stuff the head with polyfil or fabric scraps. 


Add one wing to each side using three pins at the front, leaving the back loose.  Notice the direction the wing is pointing. (My kids always try to put it on upside down.)  


Now pin the edge of each foot up into the bottom of the pumpkin. You'll have to tip the turkey for this step. 


Finally, you will move your turkey pumpkin to a festive habitat and you are all done!  

How fun is that?!  And it is just as easy to make multiple kits of these turkey pieces while you're at it, and I think they'd be a pretty fun gift for your other friends who have kids.  The more the merrier.

Let's Create! ~ Kristen 


Tuesday, November 4, 2014

Bodice Embellishment as a Suit Jacket or Vest

Today we have a guest post from one of our fabulous pattern testers, Stephanie Morgan Baker from With Love Designs by Steph. She always has such creative ideas and we LOVE what she did to embellish one of our latest releases, so we invited her onto the blog to show us how it's done. Here's Stephanie! 


When I was chosen to test Dawn's Darling Top, I was given the opportunity to embellish the bodice some. I did my take on the Mad Hatter. It received rave reviews and many people asked how to get the suit jacket look for this pattern. 

Well I am so honored to have the chance to walk you through how I achieved the look. The devil is always in the details! I love themed outfits and/or costumes, they are just so fun to do. So here's my take on a girly Superman and how to achieve the look! I threw in a super cute Lex Luthor too!


Items needed:
Fabric required per pattern
Extra fabric for "suit" 
Scissors 
Printed bodice piece
Extra paper
Buttons (or other embellishments)


Step 1: Print pattern pieces, and cut out all pieces according to pattern directions. I cut the back bodice out of the same fabric I'm using for the suit, and the front bodice in the "under shirt" fabric.


Step 2: Tape cut bodice pattern piece to a sheet of paper. We are going to draw the suit shape you'd like to see. I measured about 1 1/2" out from the fold line, as I wanted the suit pieces to overlap to achieve the buttoned look. Then draw your lapels, I like mine to start right at the straps, so I start there and draw a line from there to connect to my vertical line. I just eyeballed it to show some of the Superman logo on my bodice. Remember you will have about a 1/4" seam allowance. Now cut out your new pattern piece. 


Step 3: Cut 2 suit pieces, mirrored. Then cut your lapel pattern piece from your suit pattern piece. Cut 4 lapel piece using your pattern piece, with 2 being mirrored. 


Step 4: Sew 2 lapel pieces together with right sides together, leave one side open to turn the lapel right side out. Trim as needed to turn lapel. Repeat with other two lapel pieces. 


Step 5: Turn lapel pieces right side out. Press with iron to get crisp lines, and then top stitch. Take top-stitched lapels line them up with your suit piece and baste stitch 1/8" from the edge of the suit piece. 


Step 6: Press back the suit piece 3/8", repeat with second suit piece. 


Step 7: Baste stitch the suit piece to the top and side of bodice. Then top stitch the suit to the bodice piece. Repeat with other suit piece. Now complete the construction of your bodice per pattern directions. Add buttons or embellishments to your liking. You are all done! 


As you can see from my photos, this can be done in different shapes (see Mad Hatter) and even adapted for other patterns. My Daughter is wearing Dawn's Darling Top in the Superman photos and my Son is wearing Andrew's Overalls also embellished with lapels. The Mad Hatter is Dawn's Darling Top and Blossom's Tab Shorts.  


Thank you so much, Stephanie!

Isn't she fabulous?  If you want to see more of her creative ideas and goodies she has for sale in her shop, you can go visit and show some love at her page, With Love Designs by Steph.  We would also love to see what you make using her tutorial as inspiration! Please share in our patterns group and tag us both. 

Let's Create! ~ Kristen